

Sunday, July 29, 2012
BUNCO
Getting ready for Bunco at my house next month. Here is my invite!! Can't wait to post pictures of decorations and my outfit. More to come later. Can't spoil the surprise!!

Wednesday, July 25, 2012


Tuesday, July 24, 2012
Digital Overlays
In a recent DIGI class I taught the girls how to create overlays from paper. Here is an example I made for the class. Below is the paper we used to make the first overlay.
To create overlays in Storybook 4.0
1. Add patterned paper to project. With paper selected, go to "Color" tab & click on "Brightness & Light." Drag the contrast slider all the way to the right to 100.
2. With paper still selected, go to "Format = Filters = Stylize." Select "Threshold" filter & adjust slider to liking.
3. With paper selected, go to "Insert" & choose "Rubber Stamp." Adjust threshold & coverage sliders to liking & choose a pattern (standard).
4. Once rubber stamp is created, delete original image. Now you can recolor the overlay to suit your project. Adjusting the opacity will help blend your overlay into your background.


Thursday, July 5, 2012
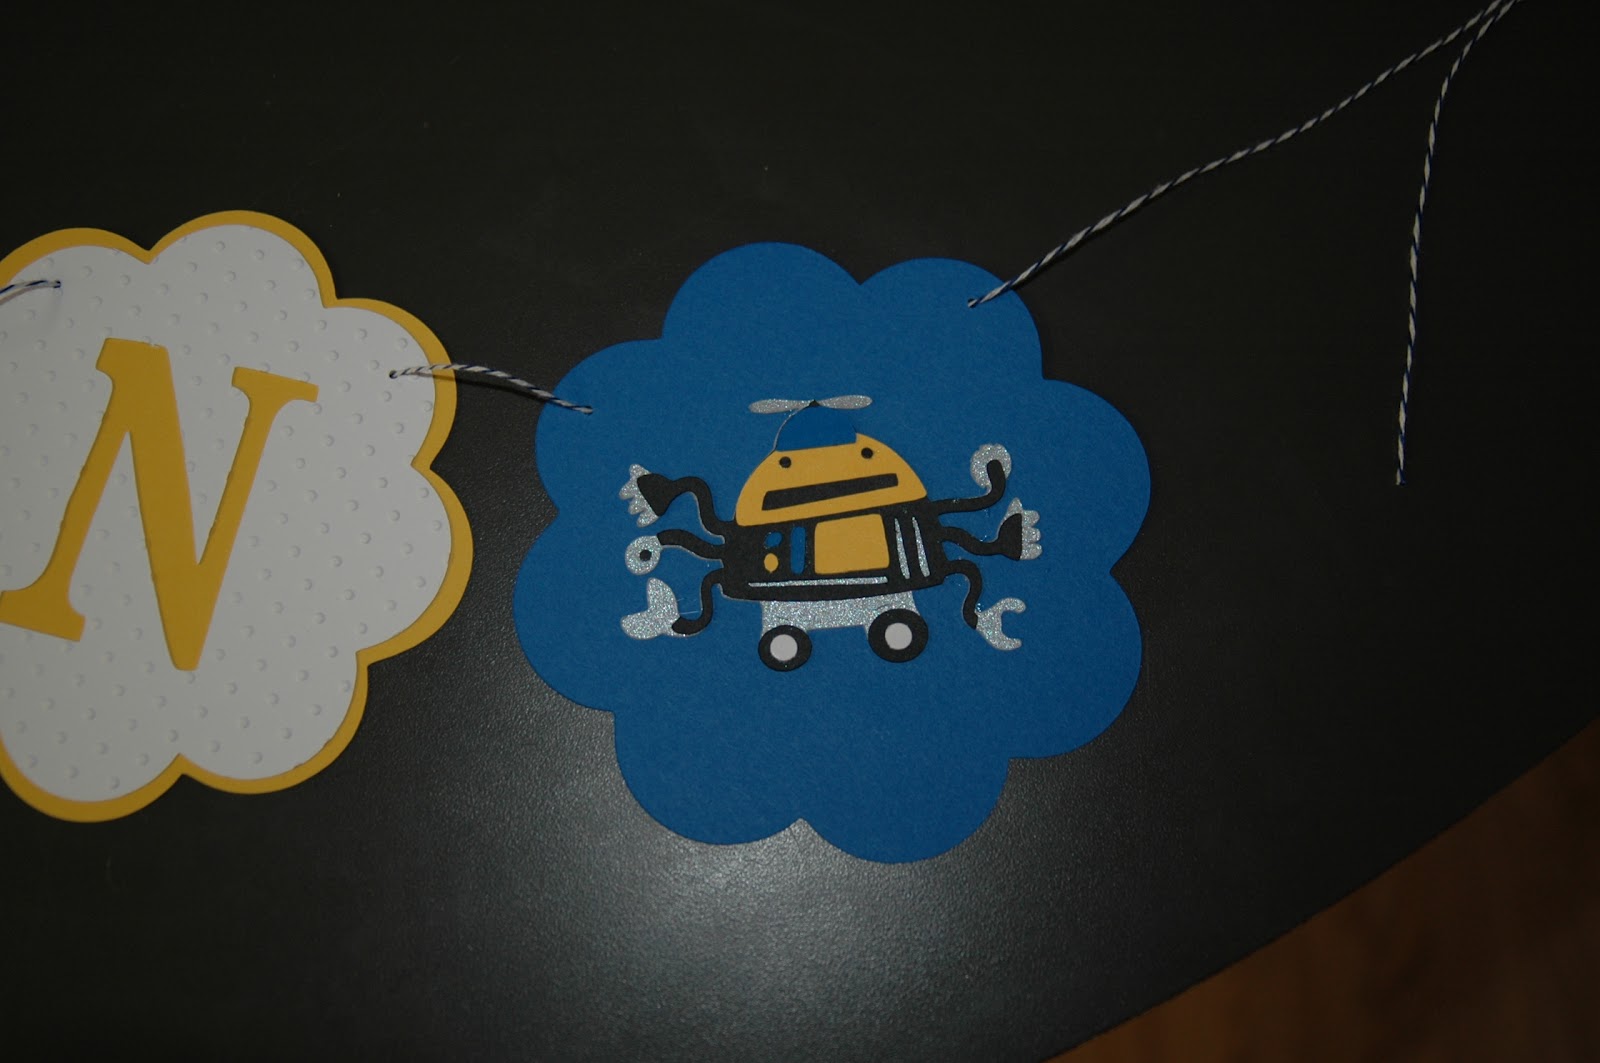
Shaun's Turn
This is the banner I made for Shaun's room. He picked Robots so I used the Robots Cricut Cartridge for his end pieces. See Dylan's banner for material and sizes used.


Tuesday, July 3, 2012
Playing with my Cricut
I saw something similar to this on Pinterest so decided to give it a try. Dylan's nursery theme is tropical-surf so I wanted to do his name, add surfboards and use the colors in his nursery bedding. The letters were cut using Creative Memories 'Tis the Season cartridge set to 3 3/4" then embossed using the Cuttlebug dotted swiss folder. The backgrounds were cut using the solid scallop circle at 4". The surfboards were cut from Creative Memories Traveler cartridge at 3". I used Stampin' Ups Lucky Limeade Baker's twine to connect everything. I can't wait to see what it looks like in his nursery. More pictures to come :)


Subscribe to:
Posts (Atom)